joi studios
How To Shoot In Harsh Light | Utah Photogapher
February 11, 2021
If you’re a photographer, you will most likely encounter harsh light at one of your shoots at some point in your career. Shooting harsh light can be really hard if you’re not prepared! The most common time I have to deal with harsh light is on a wedding day when I don’t have much control over the timeline of the day’s events or the location, but I also shoot in harsh light for family, portrait, and brand sessions on occasion as well. Today I’m going to prepare you by sharing how to shoot in harsh light and get great images in any lighting situation.
Try to find shade – any shade!
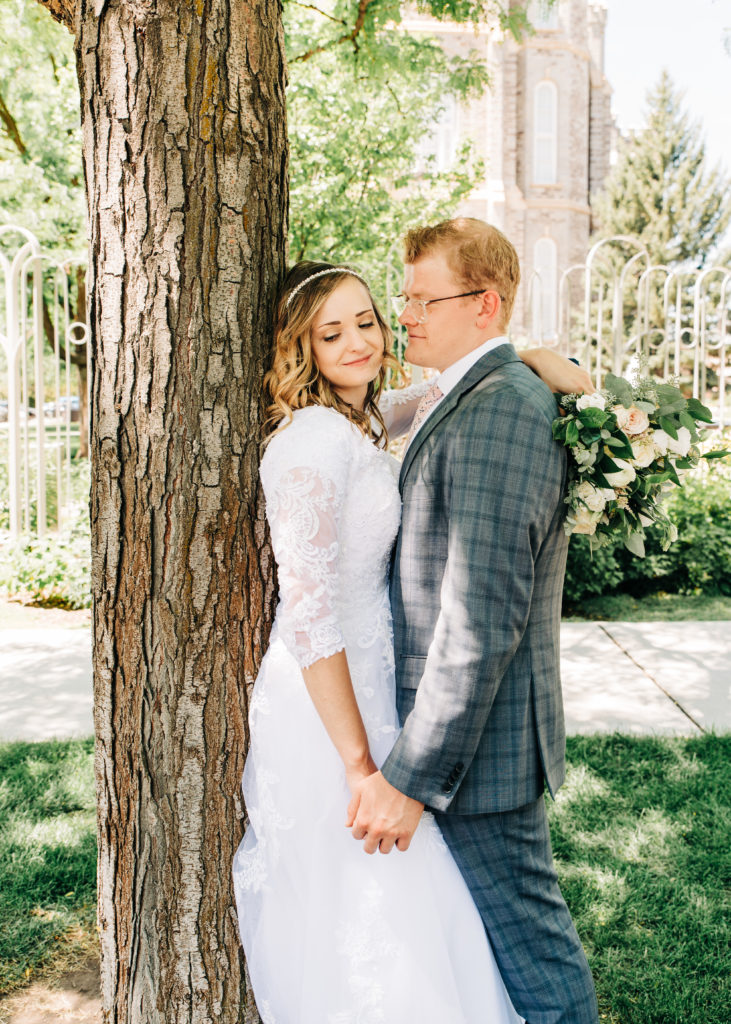
If you find yourself having to shoot at any time of day outside of golden hour, you’ll be dealing with harsh light. The best and easiest way to work with harsh light is to avoid it! Find a tree, the side of a building, anything that will cast a shadow on your subjects and prevent those harsh rays from beating down on them. But be careful not to choose a spot that’s TOO dark, or you’ll have a whole other problem to deal with.

Position your subjects using harsh light to your advantage.
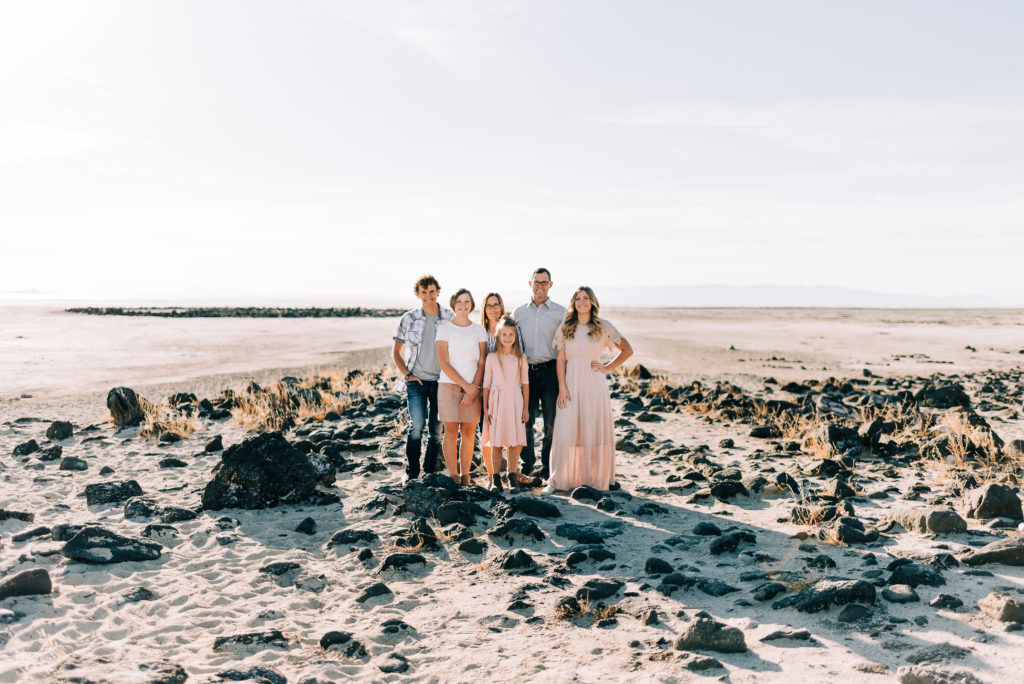
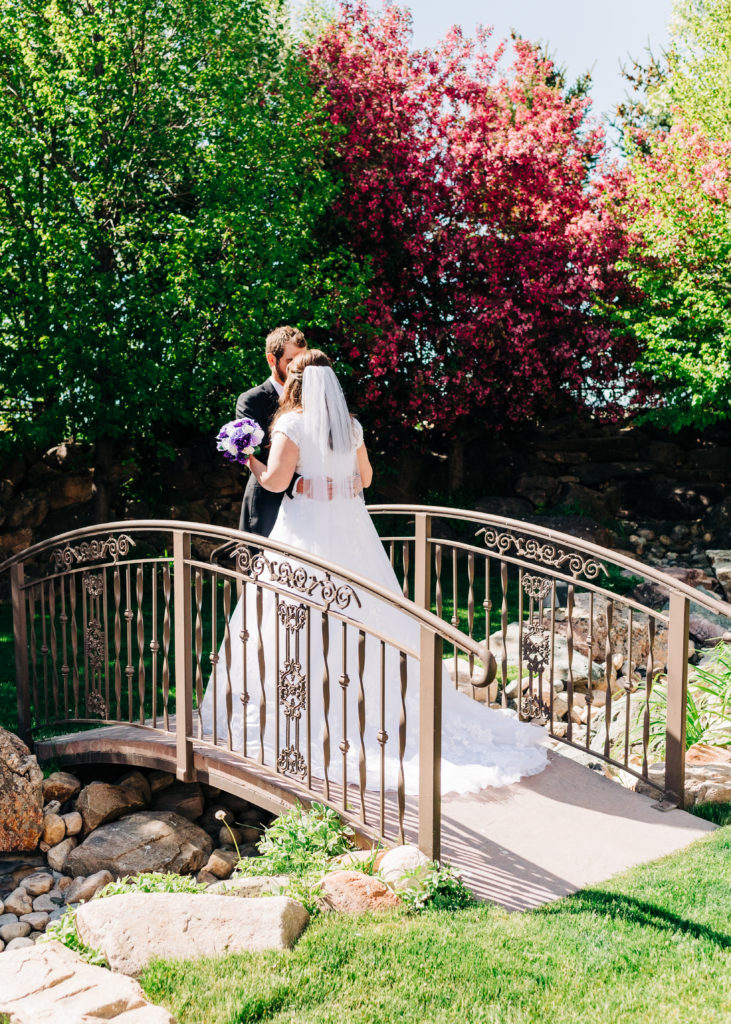
There are ways that you can use that harsh light to your advantage. Position your clients so that the sun is behind them, but not directly behind them. That will create a halo effect around their heads as the sun shines directly through their hair. When you set your subjects at an angle to the sun, it cuts out the “squinty smile” effect that happens when you have them face the sun. When we were taking our family and group photos after my own wedding the sun was SO bright and right in our eyes the entire time because it was 11am and we were facing east. Not a fun experience to remember when thinking back on your wedding day!

Use spot metering.
While shooting in manual mode, use spot metering to expose properly for your client’s skin. By exposing the skin correctly, you’ll preserve good skin tones in your photos, making editing your photos afterward so much easier.
How to shoot in harsh light at the toughest time of day – NOON.
The hardest time of day to shoot in harsh light is right around noon, when the sun is highest in the sky. It’s hard to find a large enough patch of shade to fit your subject in. You won’t be able to position the sun behind your subject since it will be directly above them. This can create harsh shadows in the eye socket area. If you have to shoot at noon, try as best you can to put the sun behind your client, at an angle, expose for the skin, and USE A REFLECTOR! Using a reflector will bounce the sunlight back up into your client’s face(s). This will cut down on the harshness of the shadows on their faces!

Did these tips help you? Is there another tip we didn’t mention that you use to shoot in harsh light? Let me know! And don’t forget to follow along with me on Instagram.